To adjust an Ultegra Di2 rear derailleur, follow these steps: check the chain position, adjust the low limit screw, adjust the high limit screw, fine-tune the indexing. Adjusting an Ultegra Di2 rear derailleur involves checking the chain position, adjusting the limit screws, and fine-tuning the indexing.
This guide will walk you through the process.

Credit: velo.outsideonline.com
Preparing For Fine-tuning

The process of fine-tuning your Ultegra Di2 Rear Derailleur requires a few essential steps to ensure optimal performance. Before diving into the adjustments, it’s crucial to gather the necessary tools and understand the components of the derailleur.
Gathering The Necessary Tools
Before you begin adjusting your Ultegra Di2 Rear Derailleur, make sure you have the following tools at hand:
- 2mm Allen wrench
- Di2 E-tube software or compatible smartphone app
- Di2 display unit or junction box
- Di2 charger
Understanding The Components Of The Ultegra Di2 Rear Derailleur
Having a clear understanding of the components of the Ultegra Di2 Rear Derailleur is vital in adjusting it effectively. The key components include:
| Component | Description |
|---|---|
| Derailleur hanger | The bracket that attaches the derailleur to the frame |
| Pulleys | Small, toothed wheels that guide the chain between gears |
| B tension screw | Adjusts the distance between the upper jockey wheel and the cassette |
| Limit screws | Controls the movement range of the derailleur, preventing the chain from shifting off the cogs |
| Barrel adjuster | Allows for fine adjustments to cable tension |
| Electrical connections | Wires that connect the derailleur to the electronic shifting system |

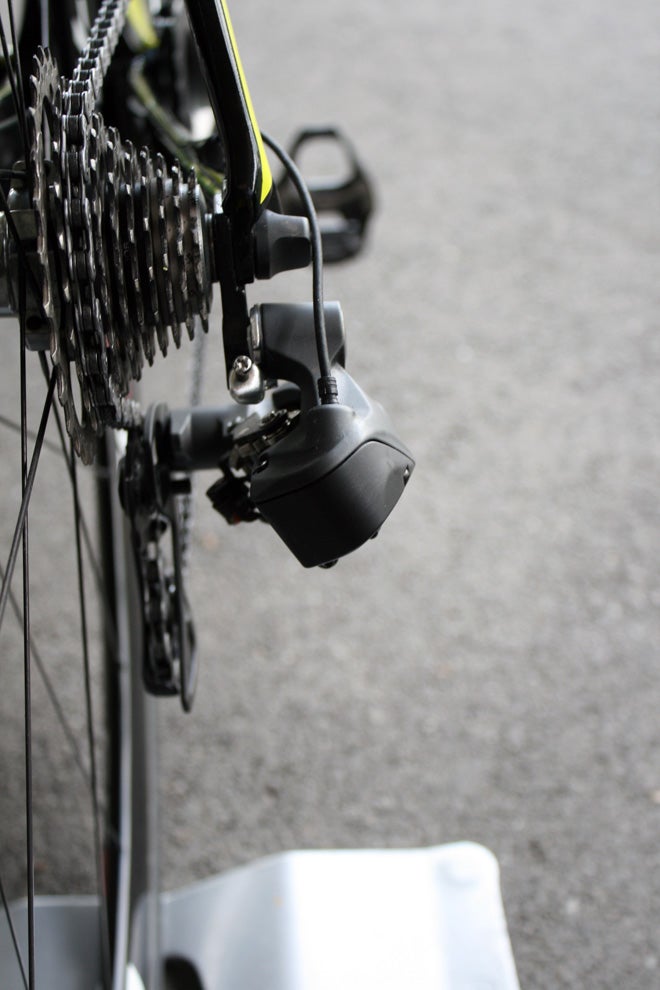
Credit: www.bikeexchange.com
Step-by-step Fine-tuning Process
In order to achieve smooth shifting and optimal performance with your Ultegra Di2 rear derailleur, it’s crucial to fine-tune its adjustments. This step-by-step process will guide you through checking the cable tension, adjusting the indexing, and setting the limit screws. Let’s dive into each of these steps to ensure your rear derailleur is perfectly tuned.
Checking The Cable Tension
Before adjusting any other settings, it’s important to check the cable tension of your Ultegra Di2 rear derailleur. Incorrect cable tension can lead to poor shifting performance. Follow these steps to check and adjust the cable tension:
- Shift your bike into the smallest cog on your cassette.
- Locate the cable tension adjustment bolt on the rear derailleur.
- Using a 4mm Allen key, turn the bolt clockwise to increase tension or counterclockwise to decrease tension.
- Shift through the gears to ensure smooth and precise shifting. If necessary, make further adjustments until the shifting is optimized.
Adjusting The Indexing
The indexing adjustment ensures that each shift corresponds to one gear. If the indexing is off, your gears may skip or struggle to engage properly. Follow these steps to fine-tune the indexing of your Ultegra Di2 rear derailleur:
- Shift your bike into the smallest cog on your cassette.
- Turn the barrel adjuster on the rear derailleur counterclockwise until it stops.
- Shift up one gear. If the chain misses the next cog, turn the barrel adjuster clockwise until the chain smoothly engages the correct gear.
- Shift through all the gears to ensure precise shifting. Make additional adjustments to the barrel adjuster if needed.
Setting The Limit Screws
The limit screws on the rear derailleur prevent the chain from shifting off the cassette. Adjusting these screws ensures that the chain stays within the gear range without rubbing or skipping. Follow these steps to properly set the limit screws on your Ultegra Di2 rear derailleur:
- Shift your bike into the smallest cog on your cassette.
- Locate the low limit screw on the rear derailleur.
- Using a Phillips head screwdriver, turn the screw clockwise until it touches the stop without pushing the derailleur.
- Shift up to the largest cog and check for any rubbing or noise. If there is, make minor adjustments to the low limit screw until the shifting is smooth.
- Repeat the process for the high limit screw, making sure the chain does not shift beyond the largest cog.
By following these step-by-step instructions, you can fine-tune your Ultegra Di2 rear derailleur, resulting in precise and reliable shifting performance. Take the time to adjust the cable tension, indexing, and limit screws, and enjoy a smooth and efficient ride on your bike.
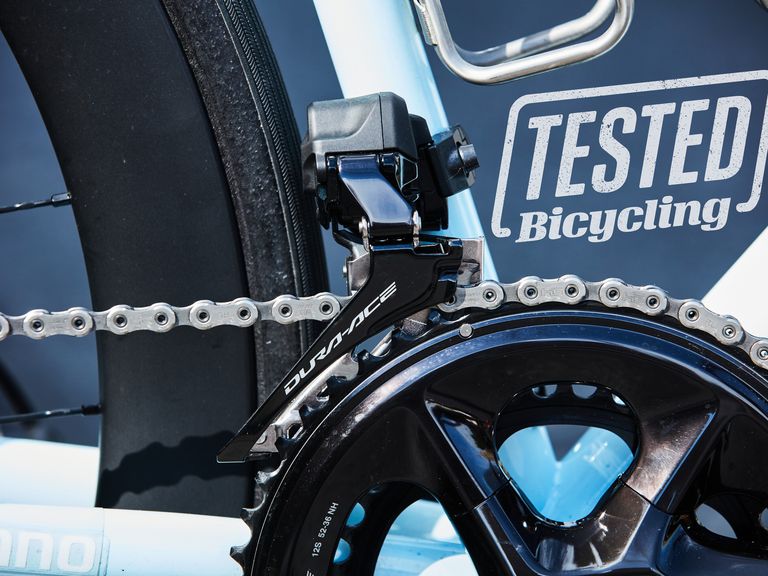
Credit: www.bicycling.com
Frequently Asked Questions For How To Adjust Ultegra Di2 Rear Derailleur
How Do I Adjust The Ultegra Di2 Rear Derailleur?
To adjust the Ultegra Di2 rear derailleur, start by placing the rear derailleur in the smallest chainring and smallest rear cog. Use the adjustment screws to align the jockey wheel with the smallest chainring. Next, shift to the largest chainring and largest rear cog, and adjust the B-tension screw to have a 5mm clearance between the guide pulley and the largest cog.
Finally, fine-tune the shifting by using the micro-adjustment mode on the Di2 system.
What Tools Do I Need To Adjust The Ultegra Di2 Rear Derailleur?
To adjust the Ultegra Di2 rear derailleur, you’ll need a 2. 5mm Allen wrench to adjust the limit screws and a 5mm Allen wrench to adjust the B-tension screw. Additionally, you’ll need a Di2 programming tool to access the micro-adjustment mode on the Di2 system for fine-tuning the shifting.
Can I Adjust The Ultegra Di2 Rear Derailleur On My Own?
Yes, you can adjust the Ultegra Di2 rear derailleur on your own. By following the proper steps, using the right tools, and referencing the manufacturer’s instructions, you can easily make the necessary adjustments to ensure smooth and accurate shifting. However, if you’re unsure or uncomfortable doing it yourself, it’s always a good idea to seek professional help.
Conclusion
Adjusting your Ultegra Di2 rear derailleur doesn’t have to be a daunting task. By following the steps outlined in this blog post, you can effectively fine-tune its performance and ensure a smooth and precise shifting experience. Remember to check for any signs of wear or damage and make gradual adjustments until you achieve optimal results.
Now, go out and enjoy your next cycling adventure with confidence! Happy riding!