To adjust a Korky Anti Siphon, turn the adjustment screw clockwise to increase the water level or counterclockwise to decrease it. Korky Anti Siphon is a commonly used plumbing device that prevents drinking water from being contaminated by backflow.
Sometimes, it may be necessary to adjust the water level in the toilet tank for optimal performance. To do this, locate the adjustment screw on the anti siphon valve, typically found at the top or side of the device. Using a flathead screwdriver, turn the screw clockwise to raise the water level or counterclockwise to lower it.

It’s important to adjust the water level cautiously and regularly check for any leaks to ensure efficient operation and water conservation. By understanding how to adjust the Korky Anti Siphon properly, you can maintain a reliable and effective plumbing system.
Credit: www.homedepot.com

Step-by-step Guide To Adjusting Korky Anti Siphon
Are you experiencing issues with your Korky Anti Siphon and need to adjust it? Don’t worry, we’ve got you covered with this step-by-step guide. Follow these easy instructions to ensure your Korky Anti Siphon is adjusted correctly and working efficiently.
Identifying The Problem
Before adjusting your Korky Anti Siphon, it’s important to identify the problem you are experiencing. Common issues include water continuously running, improper flushing, or water not filling up correctly. By identifying the problem, you’ll know which specific part of the Anti Siphon needs adjustment.
Tools And Materials Needed
To adjust your Korky Anti Siphon, you’ll need the following tools and materials:
| Adjustable wrench |
| Screwdriver |
| Korky Anti Siphon repair kit (if necessary) |
Turning Off The Water Supply
Before beginning any adjustments, make sure to turn off the water supply to avoid any potential leaks or accidents. Locate the shut-off valve near the toilet and turn it clockwise until it stops. This will stop the flow of water to the toilet and allow you to work on the Anti Siphon without any water pressure.
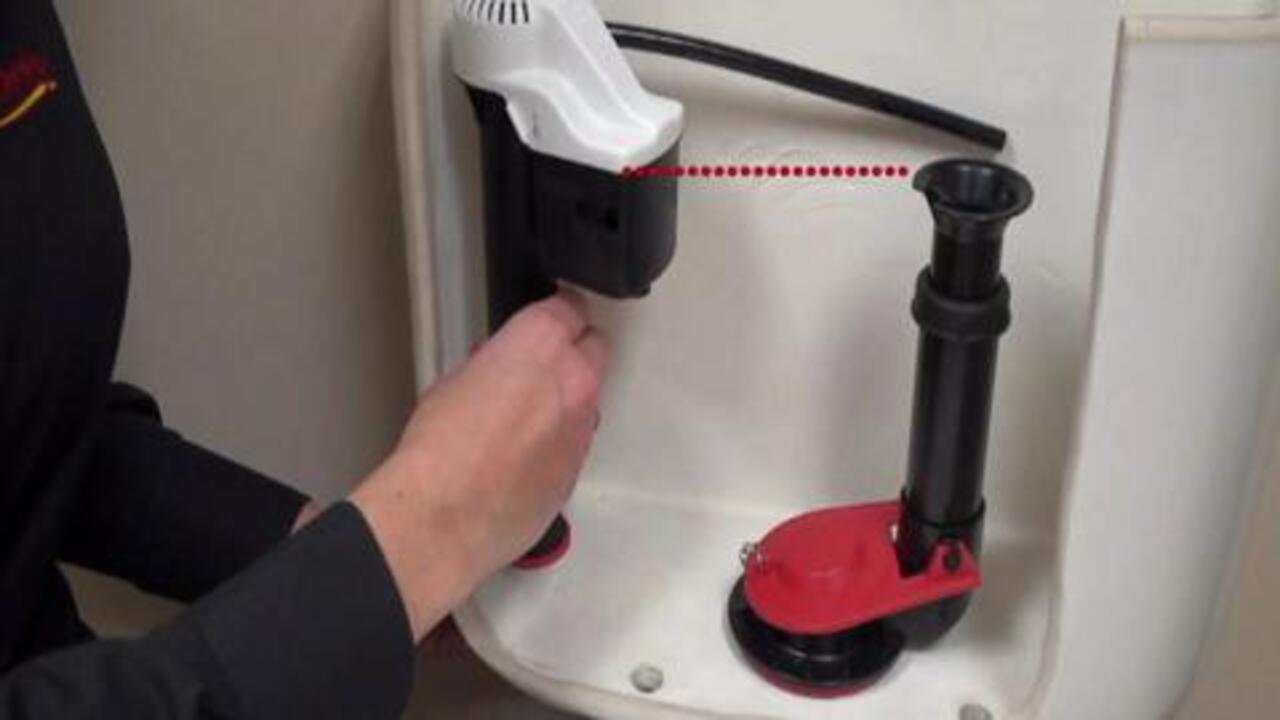
Removing The Top Cap
Using an adjustable wrench or screwdriver, carefully remove the top cap of the Korky Anti Siphon. The top cap is usually located near the fill valve and can be easily unscrewed. Set the top cap aside in a safe place as you will need it for reassembly later.
Adjusting The Float
Inside the Korky Anti Siphon, you will find a float that controls the water level. If the water level is too low or too high, it can cause issues with flushing and filling. To adjust the float, locate the float adjustment screw or clip and move it up or down. Test the water level by turning on the water supply momentarily and ensuring the float is at the desired position.
Reassembling The Anti Siphon
Once you have adjusted the float to the correct position, carefully reassemble the Korky Anti Siphon. Make sure all the components are securely fitted and the top cap is tightly screwed back into place. Double-check for any loose connections or leaks before proceeding to the next step.
Testing The Adjustment
Now it’s time to test your Korky Anti Siphon adjustment. Turn on the water supply and wait for the toilet tank to fill up. Observe the water level and make sure it stops at the desired mark. Flush the toilet a couple of times to ensure proper flushing and refilling. If everything is working smoothly, congratulations! You have successfully adjusted your Korky Anti Siphon.

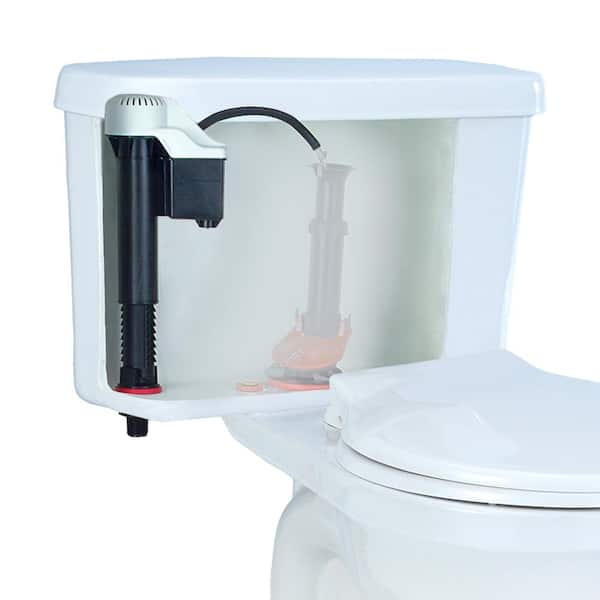
Credit: www.amazon.com
Precautions And Troubleshooting
When adjusting a Korky Anti Siphon, it is important to follow certain safety precautions and be aware of common issues that may arise. By taking these precautions and knowing how to troubleshoot, you can ensure the proper functioning of your anti siphon and avoid any potential problems. In this section, we will discuss the safety measures to take, common issues and their solutions, and when it may be necessary to seek professional help.
Safety Precautions
Before adjusting your Korky Anti Siphon, always prioritize your safety. Follow these safety precautions to avoid any accidents or injuries:
- Make sure to turn off the water supply before working on the anti siphon. This will prevent any water pressure while making adjustments.
- Wear protective gloves to protect your hands from any sharp edges or components.
- If you are unsure or uncomfortable with the adjustment process, it is best to call a qualified professional plumber.
Common Issues And Solutions
There are a few common issues that you may encounter when adjusting your Korky Anti Siphon. Here are their solutions:
| Issue | Solution |
|---|---|
| The anti siphon is spraying water | Check if there are any loose connections or cracks. Tighten all connections and replace any damaged parts. |
| Water is not flowing through the anti siphon | Inspect the inlet and outlet pipes for any blockages. Clear any debris or obstructions that may be hindering water flow. |
| The anti siphon valve is not closing properly | Ensure that the float cup is not sticking or obstructed. Clean or replace the float cup if necessary. |
Seeking Professional Help
If you have tried troubleshooting the common issues but are still experiencing problems with your Korky Anti Siphon, it may be time to seek professional help. A qualified plumber can provide expert assistance and ensure that your anti siphon is adjusted correctly. They have the knowledge and experience to diagnose and fix any complex issues that may be beyond your scope.
Remember, proper maintenance and regular checks on your Korky Anti Siphon can help prevent bigger problems down the line. By following the precautions, troubleshooting common issues, and seeking professional help when needed, you can ensure that your anti siphon remains in good working condition.
Credit: www.homedepot.com
Frequently Asked Questions For How To Adjust Korky Anti Siphon
How Do I Adjust My Korky Anti Siphon Valve?
To adjust your Korky Anti Siphon valve, first turn off the water supply. Then, remove the valve cap and adjust the float level to your desired height. Finally, replace the cap and turn the water supply back on.
Why Is My Korky Anti Siphon Leaking?
If your Korky Anti Siphon valve is leaking, it could be due to a faulty seal or a worn-out valve. Check the seal for any signs of damage and replace it if necessary. If the leakage persists, consider replacing the entire valve.
How Often Should I Adjust My Korky Anti Siphon Valve?
You should only need to adjust your Korky Anti Siphon valve if you notice any issues with its performance, such as inconsistent flushing or water leakage. Regular maintenance and inspection can help prevent the need for frequent adjustments.
Can I Adjust The Water Level In My Toilet Tank With The Korky Anti Siphon Valve?
Yes, you can adjust the water level in your toilet tank with the Korky Anti Siphon valve. By adjusting the float level, you can control the amount of water that fills up the tank after each flush. This allows you to optimize the flushing power while conserving water.
Conclusion
To sum it up, adjusting a Korky Anti Siphon valve can be a simple and effective solution for preventing backflow and ensuring proper functioning of your plumbing system. By following the step-by-step process outlined in this blog post, you can easily make the necessary adjustments and avoid potential leaks or water wastage.
Remember to regularly check and maintain your anti siphon valve to ensure its optimal performance.