To adjust Dynafit bindings, follow these steps: 1. Place the binding adjustment tool in the appropriate position.
2. Use a screwdriver to loosen the screws on the binding. Adjust the binding to the desired position, ensuring that the markings are aligned. 3. Tighten the screws firmly to secure the binding in place. Remember to check the adjustment regularly to maintain optimal performance.

Dynafit bindings are a popular choice for backcountry skiing due to their lightweight and efficient design. However, to ensure a comfortable and safe skiing experience, it’s crucial to properly adjust the bindings. Whether you’re a beginner or an experienced skier, knowing how to adjust Dynafit bindings is essential. This article will guide you step-by-step on how to adjust your Dynafit bindings to fit your boots perfectly, thereby improving your overall skiing performance. By following these instructions, you can maintain a strong connection between your boots and skis, maximizing control and reducing the risk of injury while enjoying your adventures in the mountains.

Credit: www.salomon.com

Tools And Equipment Needed
Adjusting Dynafit bindings requires specific tools and equipment. Ensure you have a screwdriver, binding adjustment template, and the manufacturer’s instructions for a seamless adjustment process. Follow these steps to fine-tune your bindings for optimal performance on the slopes.
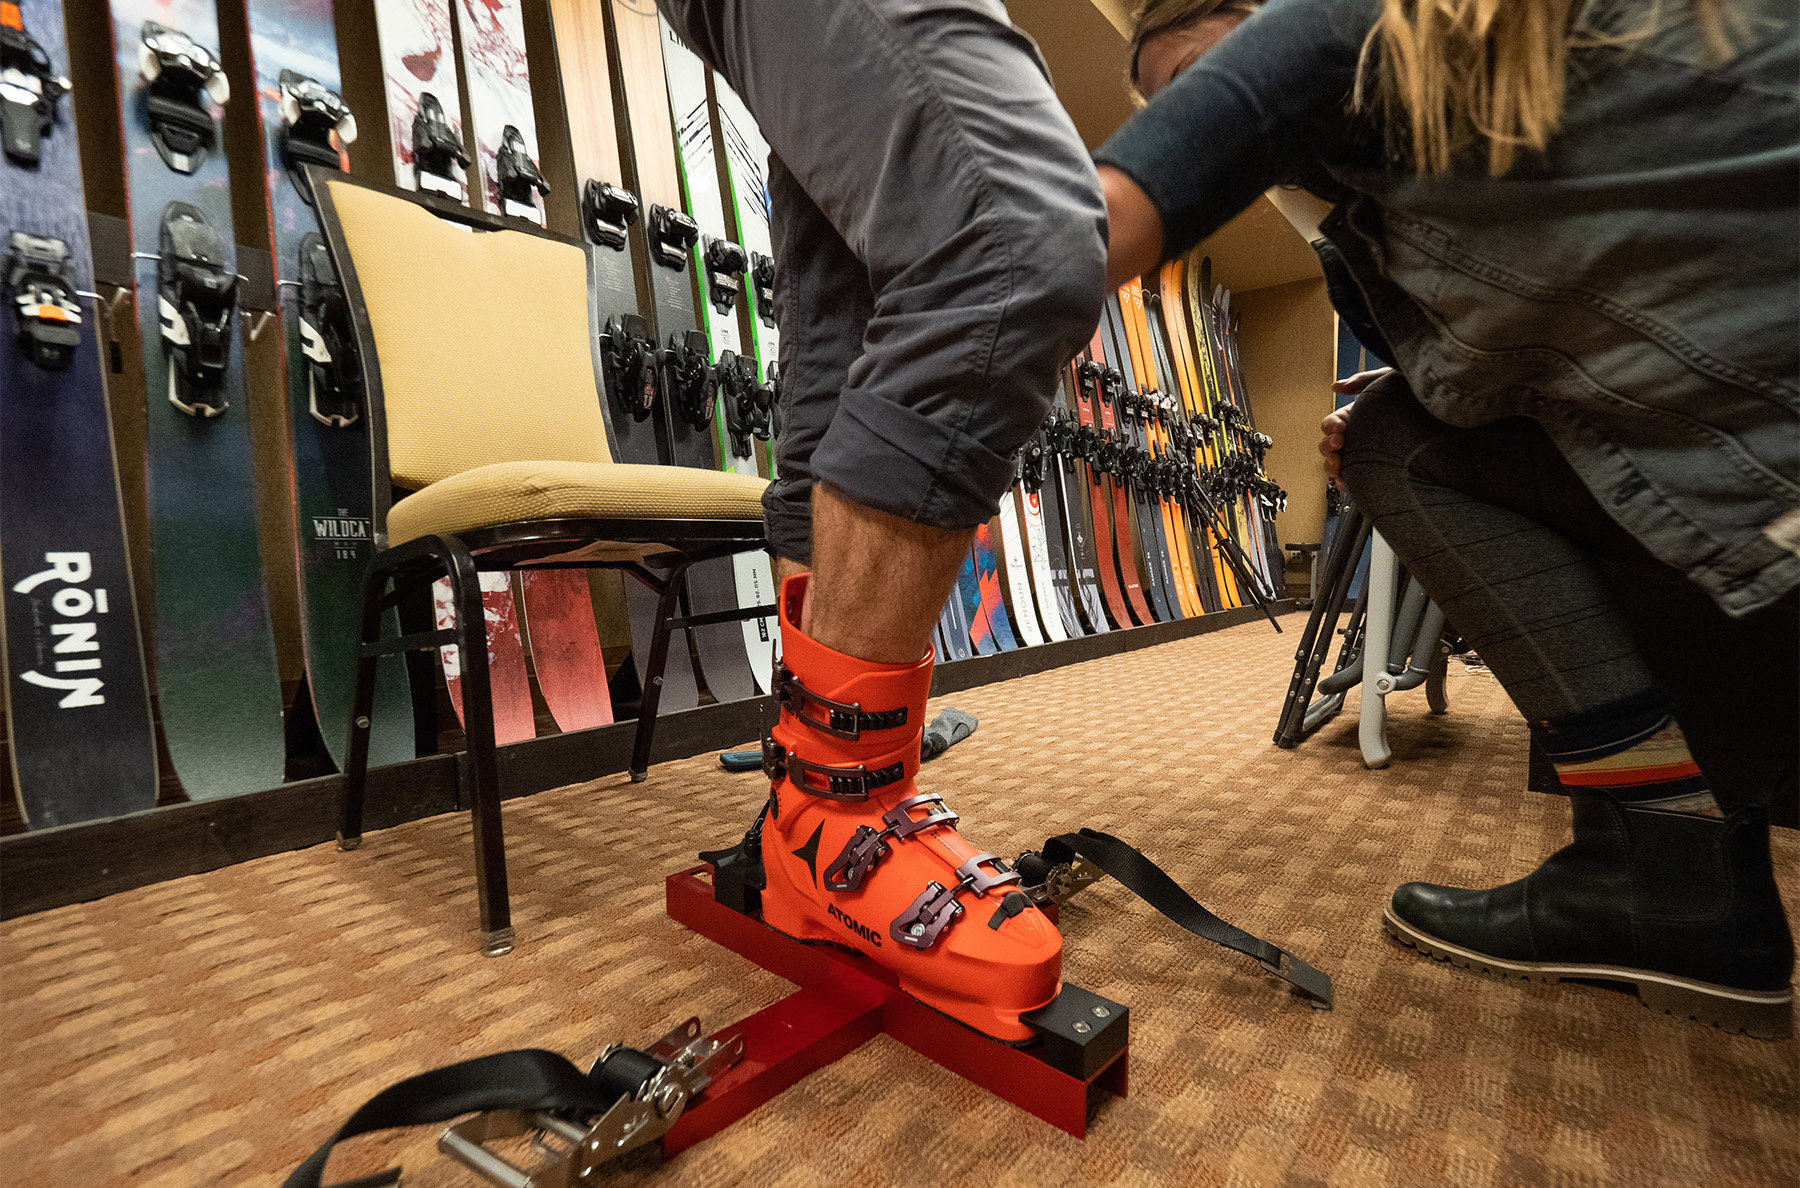
Adjusting Dynafit bindings requires a few essential tools and equipment that will make the process easier and more accurate. Having the right tools at hand ensures that you can quickly and precisely adjust your bindings to fit your specific needs and preferences. Below are the tools and equipment you will need:
Screwdriver
A screwdriver is a must-have tool when it comes to adjusting Dynafit bindings. Make sure to use a screwdriver that fits the size of the screws on your bindings. It is best to use a screwdriver with a comfortable grip to ensure stability and precision while making adjustments.
Torx Key
In addition to a screwdriver, a Torx key is another essential tool for adjusting Dynafit bindings. Torx screws are commonly found on Dynafit bindings and require a Torx key to remove or tighten them. Ensure you have the right size Torx key that matches the screws on your bindings.
Binding Adjustment Template
A binding adjustment template is a useful tool for accurately positioning your boots in the bindings. It provides guidance on toe and heel piece placement, ensuring proper alignment and preventing any mishaps while skiing. Before starting the adjustment process, make sure you have a binding adjustment template that corresponds to your boot size.
Marker Or Tape
Using a marker or tape is an optional but helpful step during the binding adjustment process. Marking the initial position of your bindings with a marker or tape allows you to easily return to the original setup if needed. This can be particularly useful if you want to experiment with different adjustments or if you lend your skis to someone else.
Optional: Ski Wax
If you want to take your binding adjustment to the next level, consider using ski wax. Applying ski wax to the binding contact points can help reduce friction and enhance the performance of your bindings. While not necessary for a basic adjustment, ski wax can be a valuable addition for those seeking optimal control and precision on the slopes.

Credit: cripplecreekbc.com
Step-by-step Guide To Adjusting Dynafit Bindings
Adjusting Dynafit bindings is an essential part of ensuring a safe and efficient skiing experience. By properly adjusting your bindings, you can minimize the risk of injury and optimize your performance on the slopes. In this step-by-step guide, we will walk you through the process of adjusting your Dynafit bindings, covering everything from determining your boot sole length to fine-tuning the boot centering. So let’s dive in!
Determine Your Boot Sole Length
The first step in adjusting your Dynafit bindings is determining your boot sole length. This information is crucial for setting up the bindings correctly. You can usually find the boot sole length stamped on the side of your ski boot, usually in millimeters. Take note of this measurement before proceeding.
Set The Forward Pressure
Once you have determined your boot sole length, it’s time to set the forward pressure on your Dynafit bindings. The forward pressure ensures that your boot is securely held in place and allows for smooth and controlled skiing. To set the forward pressure, follow these steps:
- Locate the forward pressure screw on your bindings. It is typically located on the toe piece of the binding.
- Use a screwdriver to adjust the forward pressure screw according to the boot sole length you determined earlier. Refer to the manufacturer’s instructions for the specific adjustment range for your bindings.
- Ensure that the forward pressure is set within the recommended range to avoid premature release or unwanted retention.
Adjust The Lateral Release
Next, you need to adjust the lateral release on your Dynafit bindings. This adjustment determines the amount of sideways force required for the bindings to release in the event of a fall or irregular movement. Follow these steps to adjust the lateral release:
- Locate the lateral release screw on your bindings, usually on the side near the toe piece or heel piece.
- Use a screwdriver to adjust the lateral release screw according to your skiing ability, weight, and preference. A higher setting provides increased resistance to release, while a lower setting offers easier release.
- Ensure that the lateral release is set correctly to reduce the risk of injury and optimize your bindings’ performance.
Set The Vertical Release
After adjusting the lateral release, it’s time to set the vertical release on your Dynafit bindings. The vertical release adjustment determines the amount of upward force required for the bindings to release. Follow these steps to set the vertical release:
- Locate the vertical release screw on your bindings, usually on the heel piece.
- Use a screwdriver to adjust the vertical release screw according to your skiing ability, weight, and preference. Similar to the lateral release, a higher setting provides increased resistance to release, while a lower setting offers easier release.
- Ensure that the vertical release is set correctly to suit your skiing needs and reduce the risk of injury.
Fine-tune The Boot Centering
Once you have adjusted the release settings, it’s essential to fine-tune the boot centering on your Dynafit bindings. Proper boot centering ensures optimal power transmission and control while skiing. Follow these steps to fine-tune the boot centering:
- Place your boots into the bindings and ensure that they are centered properly.
- Check the boot centering indicator on the bindings, typically located on the heel piece.
- Make any necessary adjustments to achieve perfect boot centering by following the manufacturer’s instructions and using the provided tools.
Check And Test The Adjustments
After completing all the adjustments, it’s crucial to thoroughly check and test the settings to ensure they are correct before hitting the slopes. Perform the following checks and tests:
- Check that the bindings’ indicators align with the proper settings.
- Perform a release test by manually twisting or pulling the boot in different directions.
- Observe how the bindings react and ensure they release when appropriate and retain when necessary.
Now you are all set! By following this step-by-step guide, you can confidently adjust your Dynafit bindings and enjoy a safe and enjoyable skiing experience. Remember to regularly inspect your bindings and make any necessary adjustments based on your skiing performance and preferences.
Credit: blisterreview.com
Frequently Asked Questions On How To Adjust Dynafit Bindings
How Do You Adjust Dynafit Bindings For The Perfect Fit?
To adjust Dynafit bindings, start by setting your release values based on your weight and skiing ability. Then, use a flathead screwdriver to adjust the toe piece, ensuring it aligns with your ski boot. Finally, adjust the heel piece to match your boot size using the slide or rotating adjustment system.
What Are The Key Factors To Consider When Adjusting Dynafit Bindings?
When adjusting Dynafit bindings, consider your weight, skiing ability, and boot size in order to set the release values correctly. Additionally, ensure the toe and heel pieces align properly with your ski boots to guarantee a secure fit. Following these steps will contribute to a safe and comfortable skiing experience.
Are There Any Tips For Adjusting Dynafit Bindings For Optimal Performance?
To optimize the performance of your Dynafit bindings, make sure to follow the manufacturer’s guidelines for release value settings. Additionally, periodically check and tighten all screws to maintain a secure connection between the bindings and your boots. Regular maintenance and proper adjustment will enhance your skiing performance.
Conclusion
Adjusting Dynafit bindings is essential for ensuring optimal performance and safety while skiing. By following the step-by-step guide outlined in this blog post, you can easily make the necessary adjustments to achieve a customized fit for your boots. Remember to regularly inspect and maintain your bindings to promote longevity and prevent any potential issues on the slopes.
Happy skiing!