To adjust the depth of a circular saw, locate the depth adjustment lever on the saw and turn it to your desired depth measurement. Then, tighten the lever to secure the depth setting.
Welcome to the world of woodworking! Whether you’re a beginner or a seasoned professional, using a circular saw is an essential skill to have in your toolbox. Circular saws are versatile and efficient tools that allow you to make precise and clean cuts in various materials.

One important aspect of using a circular saw effectively is adjusting the depth of the blade. By adjusting the depth, you can control the depth of the cut, ensuring the desired outcome for your project. We will guide you on how to adjust the depth of a circular saw correctly. So, let’s dive into the steps and get started on maximizing the potential of your circular saw!
Understanding Circular Saw Depth Control

When it comes to using a circular saw, understanding how to adjust the depth is essential for achieving clean and precise cuts. Circular saw depth control refers to the ability to set the cutting depth of the blade, allowing you to control the depth at which the blade cuts into the material.
What Is Circular Saw Depth Control?
Circular saw depth control is a feature that allows you to adjust the cutting depth of the circular saw blade. By adjusting the depth, you can determine how deep the blade will penetrate the material you are cutting.
This feature is particularly useful when working with different materials of varying thicknesses. By setting the correct depth, you can avoid cutting too deep, which can lead to splintering or damaging the material, or cutting too shallow, which may result in incomplete cuts.
Most circular saws have a depth adjustment feature that allows you to change the cutting depth by manipulating the depth adjustment lever or knob.
Importance Of Mastering Circular Saw Depth Control
Mastering circular saw depth control is crucial for achieving precise and professional-looking cuts. Here are a few reasons why it’s important to understand and utilize this feature:
- Minimize Material Damage: Adjusting the cutting depth allows you to minimize the risk of damaging the material you are cutting, avoiding splintering or tearing.
- Controlled Cutting: By setting the appropriate depth, you have better control over the cutting process, resulting in more accurate and clean cuts.
- Efficiency: With proper depth control, you can optimize your cutting, ensuring that the blade only cuts as deep as necessary. This saves time and energy, especially when working on multiple cuts.
- Safety: Correct depth adjustment helps maintain the safety of your work environment. When the blade is set to the appropriate depth, it reduces the risk of kickback and allows you to work confidently.
Mastering circular saw depth control requires a combination of understanding the material you are cutting, selecting the correct blade, and using the appropriate cutting techniques. By practicing and becoming familiar with this feature, you can enhance your woodworking skills and achieve professional results.

Credit: www.workprotool.com
Pro Tips For Mastering Circular Saw Depth Control
Adjusting the depth of your circular saw blade is a crucial step in achieving precise and clean cuts. Whether you’re a DIY enthusiast or a professional woodworker, mastering circular saw depth control is essential for achieving professional-looking results. In this section, we will explore three pro tips to help you adjust circular saw depth with ease.
1. Adjusting The Blade Depth
Before you start cutting, it’s important to set the blade depth correctly. To adjust the blade depth, follow these simple steps:
- Ensure that your circular saw is unplugged or the battery is removed, guaranteeing your safety.
- Locate the depth adjustment lever or knob on your saw.
- Loosen the lever or turn the knob counterclockwise to raise the blade or clockwise to lower it.
- Position the blade at the desired depth based on the thickness of the material you’re cutting. Remember to consider the clearance needed to prevent binding or kickback.
- Tighten the lever or knob to secure the blade at the chosen depth.
By correctly adjusting the blade depth, you’ll have better control over the cut and reduce the risk of accidents.
2. Measuring And Marking The Cut
Measuring and marking the cut is an essential step in achieving accuracy with your circular saw. Follow these steps to measure and mark your cut:
- Measure the length and width of the material you want to cut, and mark the desired cut line with a pencil or a straight edge.
- Using a square, ensure that your cut line is perpendicular to the edge of the material, creating a right angle.
- Double-check your measurements and adjust them accordingly to ensure accuracy.
- For longer cuts, use a straight edge or a guide to keep the saw running along a straight line.
- Align the blade with the marked cut line to ensure a precise cut.
By measuring and marking your cut properly, you’ll have a clear guideline to follow and achieve straight and accurate cuts.
3. Test Cuts And Fine-tuning
Performing test cuts and fine-tuning your circular saw’s depth will help you achieve the perfect cut. Follow these steps to fine-tune the blade depth:
- Choose a scrap piece of the same material you’ll be working with and make a test cut.
- Inspect the test cut to assess its quality and adjust the blade depth if necessary.
- If the cut is too shallow, use the depth adjustment lever or knob to lower the blade slightly.
- If the cut is too deep or causes fraying, raise the blade using the depth adjustment mechanism.
- Make additional test cuts and continue fine-tuning the blade depth until you achieve the desired result.
By performing test cuts and fine-tuning the blade depth, you’ll be able to adjust to the unique requirements of each material, ensuring clean and precise cuts every time.
Common Mistakes To Avoid
Adjusting the depth of a circular saw is a crucial step in achieving accurate and efficient cuts. However, many DIY enthusiasts and even seasoned professionals make avoidable mistakes during this process. These mistakes can not only affect the quality of the cuts but also pose safety hazards. In this section, we will highlight three common mistakes to avoid when adjusting the depth of a circular saw.
1. Not Adjusting The Depth Properly
One of the most common mistakes is failing to adjust the depth of the circular saw properly. When the depth is not adjusted correctly, it can result in cuts that are too shallow or too deep, leading to uneven surfaces or excessive material wastage.
To avoid this mistake, follow these steps:
- Locate the depth adjustment lever: Different circular saw models have different mechanisms for adjusting the depth. Typically, there is a lever or knob near the blade that controls the depth setting.
- Loosen the adjustment lever: Loosen the lever to allow for vertical movement of the saw blade.
- Measure and set the desired depth: Use a ruler or tape measure to determine the desired cutting depth, and then adjust the depth accordingly using the lever. Ensure that the blade extends slightly below the material being cut for a clean and efficient cut.
- Tighten the adjustment lever: Once the desired depth is set, tighten the adjustment lever securely to lock the blade in place.
2. Neglecting To Measure And Mark
Another common mistake is neglecting to measure and mark the material being cut. Failing to do so can result in inaccurate depth adjustments and imprecise cuts.
Here’s how to avoid this mistake:
- Identify the cut line: Determine where exactly you want to make the cut by marking a line on the material.
- Measure and mark the depth: Use a measuring tape or ruler to measure and mark the desired depth on the material, aligning it with the previously marked cut line.
- Adjust the saw depth: With the measurements and markings in place, adjust the circular saw depth according to the marked lines.
3. Skipping Test Cuts
Sometimes, in the haste to get the job started, people skip the crucial step of making test cuts. Test cuts allow you to check if your depth adjustment is accurate and ensure that the saw is cutting smoothly and cleanly.
To avoid this mistake, simply follow these steps:
- Select a scrap piece of material: Find a spare piece of the same material you will be cutting and use it for test cuts.
- Perform a test cut: Set the depth adjustment as intended and make a test cut on the scrap material.
- Inspect the test cut: Examine the test cut to ensure it meets your expectations. If it’s too shallow or too deep, readjust the depth setting accordingly.
- Proceed with confidence: Once you are satisfied with the test cut, proceed to make your cuts on the actual material.
By avoiding these common mistakes, you can ensure that the depth adjustments on your circular saw are accurate, leading to precise cuts and a safer working environment. Take the time to measure, mark, and perform test cuts before diving into your project, and you’ll be well on your way to achieving professional-level results.
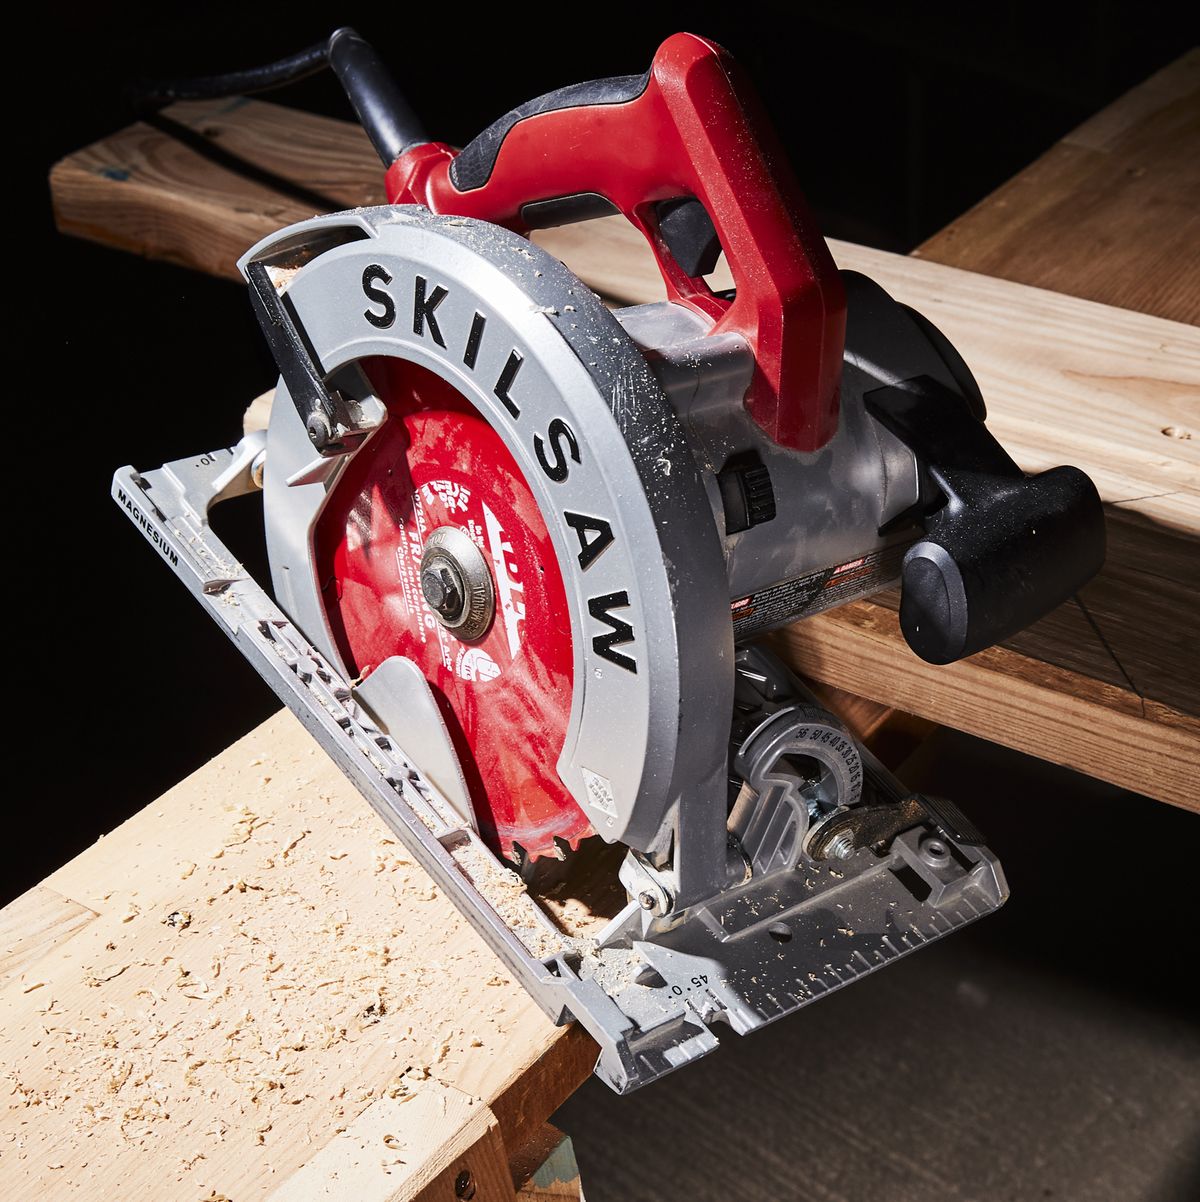
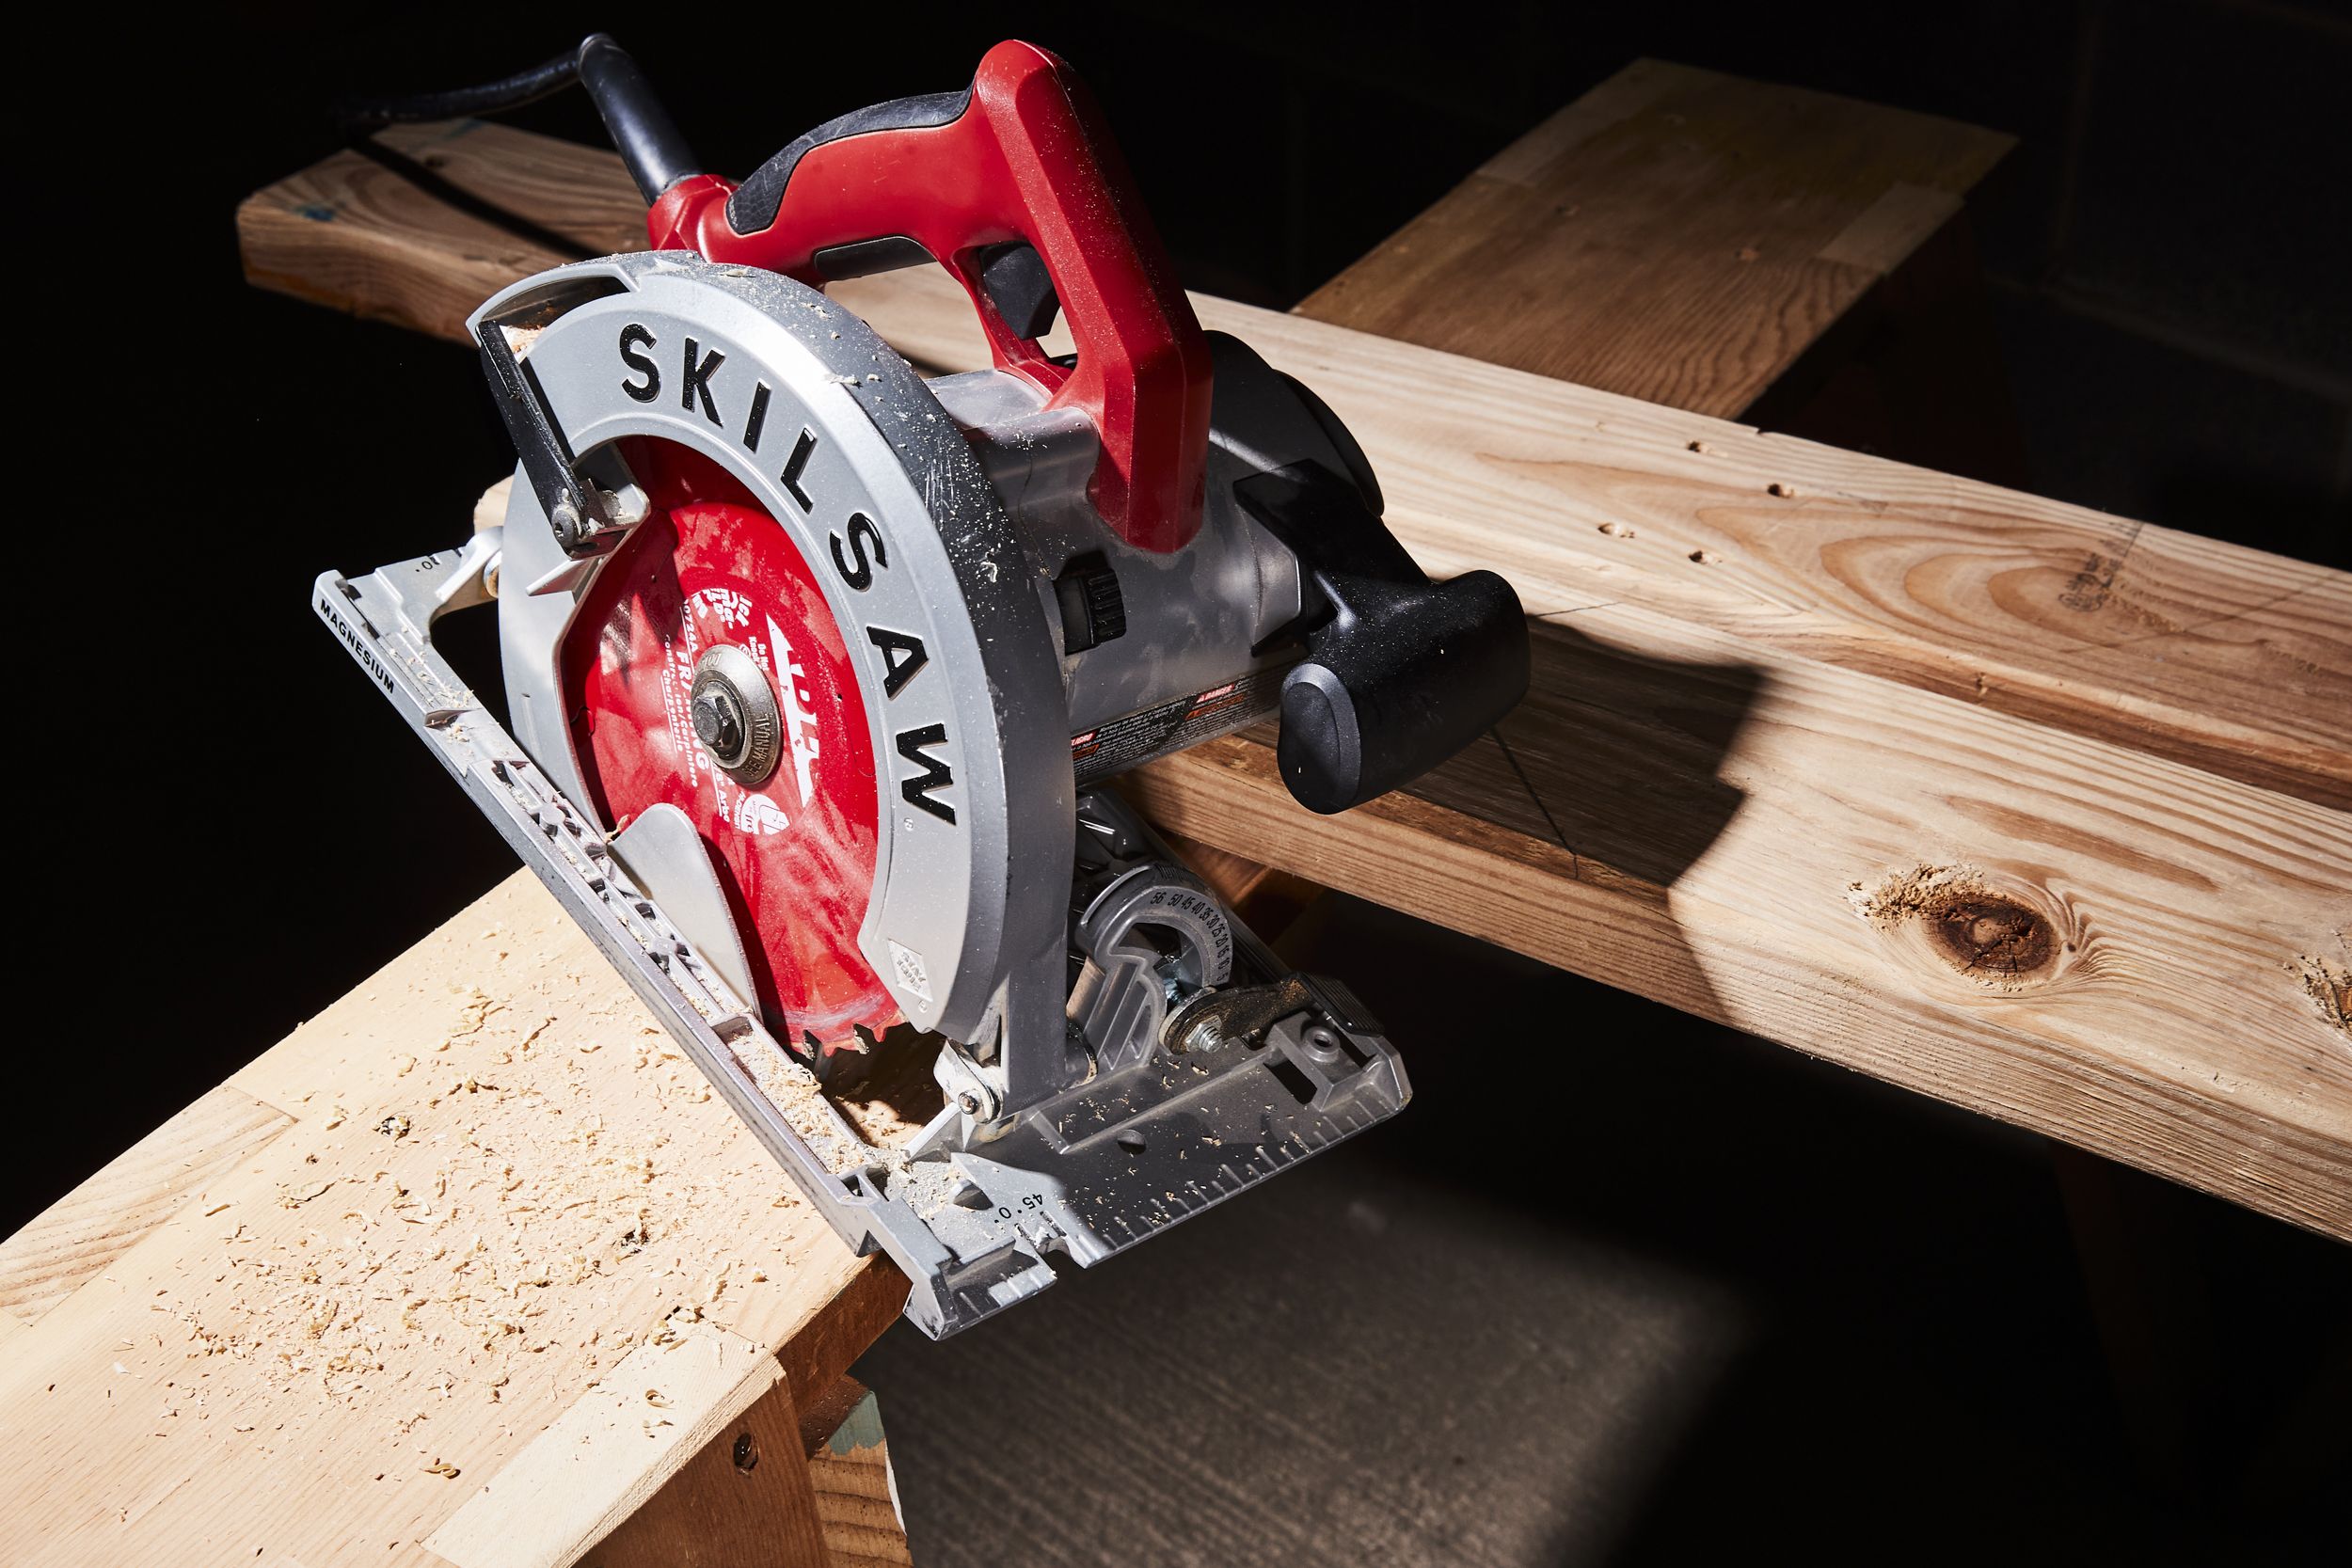
Credit: www.popularmechanics.com

Credit: www.menards.com
Frequently Asked Questions Of How To Adjust Circular Saw Depth
How Do I Adjust The Depth Of A Circular Saw?
To adjust the depth of a circular saw, locate the depth adjustment lever or knob on the saw’s base. Loosen it to move the base up or down, adjusting the cutting depth. Make sure to tighten the lever or knob securely before cutting.
What Is The Ideal Depth For Cutting With A Circular Saw?
The ideal cutting depth for a circular saw depends on the material being cut. As a rule of thumb, set the blade depth to be slightly deeper than the thickness of the material. This helps prevent binding or kickback while ensuring a clean and efficient cut.
Can I Adjust The Cutting Depth While The Saw Is Running?
It is not recommended to adjust the cutting depth of a circular saw while it is running. Always switch off the saw and unplug it before making any adjustments. This ensures your safety and reduces the risk of accidents or injuries.
Conclusion
To sum up, adjusting the depth of a circular saw is a crucial skill for every woodworker or DIY enthusiast. By following the step-by-step process, you can ensure precise cuts and enhance the overall safety of your projects. Remember to measure twice, set the correct depth, and use caution while operating the saw.
With practice and attention to detail, you’ll be able to master this technique and achieve professional-quality results in no time. Happy sawing!