To adjust the ruler in Word, click on the View tab and then select the Ruler check box. By following these steps, you can easily adjust the ruler in Word.
Microsoft Word is a powerful word processing software that allows users to create and edit documents with ease. One of its handy features is the ruler, which helps align text, images, and other elements within the document. Adjusting the ruler in Word is a simple process that can be done in a few clicks.
We will guide you through the steps to adjust the ruler in Word, ensuring that your documents are properly formatted and visually appealing. Whether you are a beginner or an experienced user, this tutorial will equip you with the necessary knowledge to make the necessary adjustments to the ruler in Word. So let’s get started and learn how to adjust the ruler in Word.

Credit: www.amazon.com
Understanding The Ruler In Microsoft Word
Understanding the Ruler in Microsoft Word is an essential skill for anyone working with this popular word processing program. The ruler is a powerful tool that allows you to adjust margins, indentations, and tabs, giving you full control over the layout and formatting of your documents. In this section, we will delve into the various components of the ruler and discuss how to make the most of its features.
Introduction To The Ruler
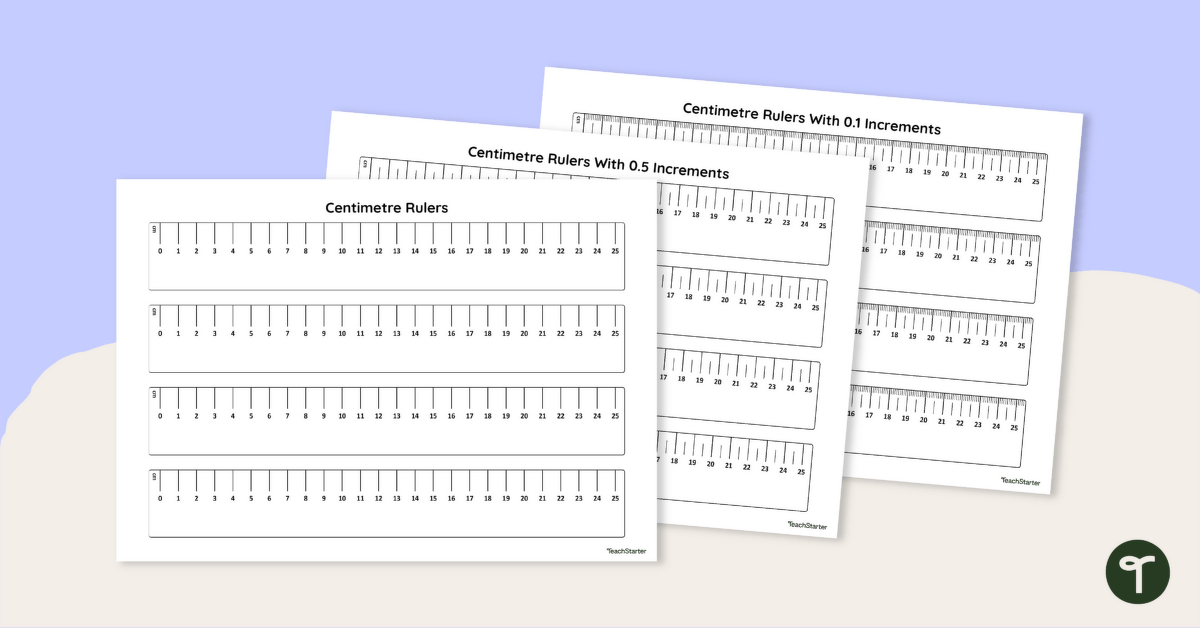
The ruler in Microsoft Word is a horizontal strip located at the top of the document window. It serves as a visual guide for formatting and aligning text, paragraphs, and objects within your document. By default, the ruler displays measurement units in inches, but you can change it to other units like centimeters or points to meet your specific needs.
Components Of The Ruler
The ruler consists of various elements that enable you to adjust and customize the layout of your document. Let’s take a closer look at each component:
- Left Indent Marker: This marker, denoted by a small square, allows you to adjust the position of the left indent for a paragraph or block of text. By dragging the left indent marker, you can easily create hanging indents or adjust the margins for specific sections of text.
- First Line Indent Marker: Located to the left of the left indent marker, this marker controls the indentation of the first line of a paragraph. Dragging this marker enables you to create or modify a block of text with a hanging indent.
- Right Indent Marker: Positioned to the right of the left indent marker, this marker lets you adjust the position of the right margin for a paragraph or a section of text. Dragging it allows you to control the width of the text block.
- Tab Selector and Tab Stops: To the left of the ruler, you’ll find the tab selector, which consists of different symbols representing various types of tabs. By clicking the tab selector and placing it on the ruler, you can set custom tab stops to align text in a specific manner, such as centering or right-aligning.
Importance Of Using The Ruler
Utilizing the ruler in Microsoft Word is crucial for achieving a professional and well-structured document. The benefits of using the ruler include:
- Precise Formatting: The ruler allows you to precisely adjust margins, indents, and tabs, ensuring your document looks polished and visually appealing.
- Consistency: By using the ruler, you can maintain consistent formatting throughout your document, making it easier for readers to navigate and comprehend the content.
- Efficiency: With the ruler, you can quickly modify the layout of your document without relying on complicated menus or settings. It streamlines the formatting process, saving you time and effort.
Now that we have explored the ruler’s key components and highlighted its importance, you are ready to dive deeper into adjusting the ruler in Microsoft Word. In the next sections, we will walk you through the step-by-step process of utilizing the ruler to enhance your documents.

Credit: www.skillshare.com
Adjusting Margins And Indents
Need help adjusting margins and indents in Word? Learn how to adjust the ruler in Word and customize your document’s layout with ease.
In Microsoft Word, adjusting margins and indents is crucial for creating professional-looking documents. Properly aligned margins and indents improve readability and organization. In this section, we will cover how to set page margins, change paragraph indents, and create hanging indents. Let’s dive in!Setting Page Margins
To begin, let’s look at how to set page margins in Word. Follow these simple steps:- Click on the “Layout” tab located at the top of the Word window.
- Next, click on the “Margins” button on the ribbon.
- A drop-down menu will appear with several predefined margin options. Choose the option that best suits your needs or select “Custom Margins” to set your own margins.
- If you choose the “Custom Margins” option, a dialog box will open, allowing you to enter specific measurements for top, bottom, left, and right margins. Adjust these measurements according to your preferences and click “OK” to apply the changes.
Changing Paragraph Indents
The next aspect we’ll focus on is changing paragraph indents. This can add structure to your document, making it easier to read. Follow these steps to adjust indents:- Place your cursor in the paragraph that you want to modify.
- Click on the “Layout” tab at the top of the Word window.
- Locate the “Indent” section on the ribbon and click on the increase or decrease indent buttons to adjust the indentation of the paragraph.
- You can also click on the “More Options” button in the “Indent” section to access additional settings, such as setting indentation for the first line or creating a hanging indent.
Creating Hanging Indents
Lastly, let’s explore how to create hanging indents. This type of indent is commonly used in bibliographies, reference lists, and citations. Follow these steps to create a hanging indent:- Select the paragraph(s) that you want to apply a hanging indent to.
- Click on the “Layout” tab located at the top of the Word window.
- In the “Paragraph” section, click on the “Dialog Box Launcher” icon (looks like a small arrow pointing towards the bottom right).
- A dialog box will appear. In the “Special” drop-down menu under the “Indentation” section, select “Hanging.”
- Specify the desired indentation, then click “OK” to apply the changes.
Manipulating Tabs And Tab Stops
When it comes to formatting a document in Microsoft Word, understanding how to manipulate tabs and tab stops is essential. Tabs allow you to align text and objects precisely, making your document appear neat and professional. In this section, we will explore how to insert tab stops, modify tab alignments, and customize tab leaders to enhance the layout and organization of your content.
Inserting Tab Stops
If you want to align text in a specific way, inserting tab stops can help you achieve the desired result. To do this, follow these simple steps:
- Place your cursor at the beginning of the line or paragraph where you want to insert the tab stop.
- Click on the ruler at the top of your Word document to set the position of the tab stop.
- Choose the type of tab stop you want to insert from the drop-down menu on the left side of the ruler. The available options include left align, center align, right align, decimal align, and bar align.
- Click on the ruler at the desired position to insert the tab stop.
- Repeat this process for any additional tab stops you want to add.
Modifying Tab Alignments
Word provides you with the flexibility to change the alignment of existing tab stops. Follow these steps to modify tab alignments:
- Select the line or paragraph containing the tab stops you want to modify.
- Click on the ruler to select the tab stop you want to change.
- Drag the tab stop left or right along the ruler to adjust its position.
- Release the mouse button to finalize the new tab alignment.
- Repeat these steps for any other tab stops you wish to modify.
Customizing Tab Leaders
In addition to adjusting tab positions and alignments, you can also customize tab leaders to create visual separation between tab stops. A tab leader is a line that connects the tab stop to the text. Follow these steps to customize tab leaders:
- Select the line or paragraph containing the tab stops for which you want to customize the tab leader.
- Click on the ruler to select the tab stop.
- Right-click the selected tab stop and choose “Tabs” from the context menu.
- In the “Tabs” dialog box, select the desired leader type, such as dots, dashes, or custom characters.
- Click the “Set” button and then “OK” to apply the customized tab leader.
- Repeat these steps for any other tab stops you wish to customize.

Credit: www.skillshare.com
Frequently Asked Questions For How To Adjust Ruler In Word
How Do I Adjust The Ruler In Word?
To adjust the ruler in Word, go to the “View” tab, click on “Ruler” in the “Show” group. A checkmark will appear next to the ruler option, enabling you to adjust it. You can drag the margin markers to adjust the margins or use the ruler to set precise measurements.
What Is The Purpose Of Adjusting The Ruler In Word?
Adjusting the ruler in Word allows you to customize the layout of your document. You can set margins, indents, and tab stops according to your preferences. The ruler provides a visual guide to help you align text and objects precisely, resulting in a more professional and organized document.
Can I Adjust The Ruler In Word For Specific Sections?
Yes, you can adjust the ruler in Word for specific sections. By default, changes made to the ruler apply to the entire document. However, you can select the desired section, go to the “Layout” tab, click on “Margins,” and choose the “Custom Margins” option.
Adjustments made here will only affect the selected section.
Conclusion
Adjusting the ruler in Word is a straightforward process that can greatly enhance your document formatting. By accurately setting the margins and tabs, you can ensure your content appears organized and visually appealing. Whether you’re working on a professional document or a personal project, mastering this skill will save you time and frustration.
Remember to utilize the ruler’s various features, such as indenting and aligning text, to create visually stunning documents. Take advantage of these tips and elevate your Word document game today!


